To set up Google Sync on a Nokia N-Series or E-Series phone (Symbian S60 3rd Edition), please follow these steps:
Note: The images below may vary slightly from the images on your particular phone.
- Open your Contacts application
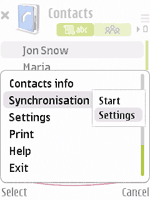
- Select 'Synchronization > Settings' from the 'Options' menu. This will open the Sync application.
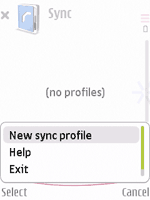
- From the Options menu select 'New sync profile'
- Choose any name you like for 'Sync profile name'
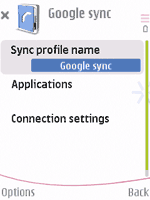
- Select and click 'Applications'
Note: You will see a list of all content types that your phone can synchronize; however, currently Google Sync only supports Contacts. - Select and click 'Contacts'
- Make sure the 'Include in Sync' option is set to 'Yes'
- Define the 'Remote Database' option as 'contacts'. It needs to be spelled exactly like this (lower case), or Google Sync will not work.
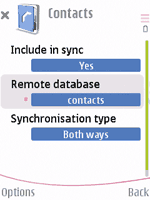
- Click 'Back' to exit this screen and save your settings
- Ensure that only Contacts have 'Settings defined' and all other content types say 'Sett. not defined'
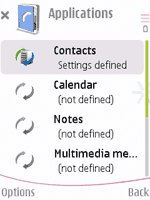
- Click 'Back' to exit this screen and save your settings
- Select and click 'Connection Settings'
- Enter the following values:
- Server version: 1.2
- Server ID: Google (capital 'G' is important)
- Data bearer: Internet
- Access point: the Internet access point for your carrier.
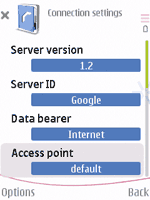
- Host address: https://m.google.com/syncml (Important to enter https for a secure connection)
- Port: 443
- User name: your Google Account username, e.g. you@googlemail.com
- Password: your Google password
- Leave other values unchanged
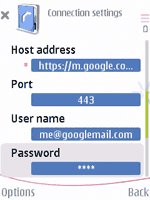
- Click 'Back' to exit this screen and save your settings
- Click 'Back' again to exit the Sync profile settings
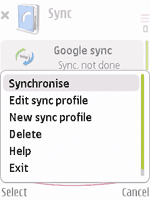
- Highlight the your Sync profile and select 'Synchronize' from the 'Options' menu to synchronize your contacts with Google


No comments:
Post a Comment